How to Choose the Best Transplanting Time for Newly Divided Snake Plant Seedlings
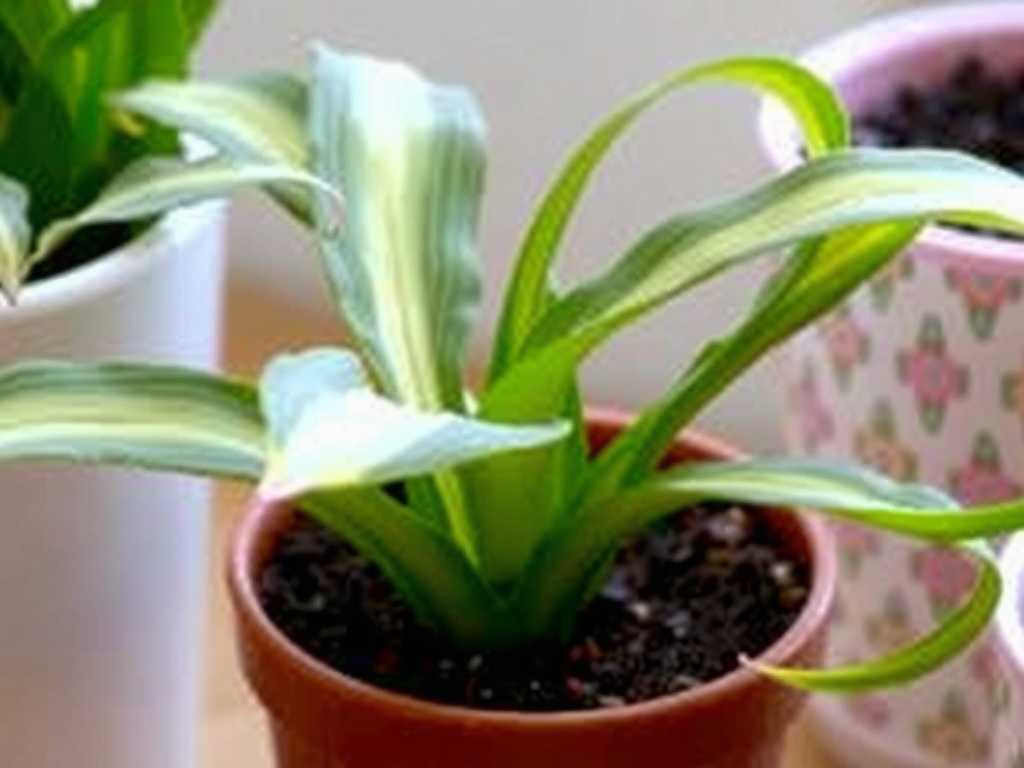
You’ve successfully divided your overgrown snake plant, and now you have several new, promising seedlings. But a wave of uncertainty hits: when is the right time to move them into their own pots? Transplanting at the wrong moment can lead to stunted growth, root rot, or even the loss of your carefully propagated plants. The key to ensuring these new divisions thrive lies not just in the how, but critically in the when. Choosing the best transplanting time for newly divided snake plant seedlings is the single most important step to guarantee a smooth transition and vigorous future growth.
This guide will walk you through the precise signals and seasonal cues to look for, turning that uncertainty into confidence.

Understanding the Snake Plant’s Growth Cycle
To master transplant timing, you must first understand the natural rhythm of the snake plant (Sansevieria, now reclassified as Dracaena). These plants are champions of resilience, but they have clear active and dormant phases.
During the warm, bright days of spring and summer, snake plants enter their active growth period. This is when they focus energy on producing new roots and leaves. Metabolism is higher, and their ability to recover from stress, like division and repotting, is at its peak.
Conversely, in fall and winter, reduced light and cooler temperatures trigger a dormant or semi-dormant state. Growth slows or stops entirely. Transplanting during this time is risky because the plant lacks the energy to establish new roots in fresh soil, making it susceptible to rot and shock. As horticulturist and author Jane Perrone notes in her work on houseplants, "Disturbing a plant's roots during its dormant season is an invitation for trouble, as the plant simply cannot utilize the new space or nutrients effectively."
Therefore, the golden rule is to align your transplanting activity with the plant’s innate readiness to grow.
Key Signals Your Seedling is Ready for Transplant
After division, your seedling needs a brief recovery period. Don’t rush to repot it immediately. Wait for these clear signs of readiness, which indicate it has recovered from the division shock and is actively growing.
1. Established Root System (The Primary Signal) This is the most critical factor. Gently tip the seedling out of its temporary container. You are looking for evidence of a healthy, established root system. The roots should appear firm and white or light orange, not mushy or brown. They should be visibly holding the soil together, forming a loose root ball. If the roots are sparse and the soil falls away freely, the seedling needs more time to develop. A good benchmark is when you see roots beginning to circle the bottom of the nursery pot or appear at the drainage holes.
2. New Foliage Growth Look for the emergence of new leaves or a "pup" (a new shoot from the soil). This is a definitive visual signal that the plant has shifted from recovery mode into active growth. The energy is now directed upwards, indicating that the root system below is sufficiently developed to support new foliage.
3. Soil Drying Out at a Normal Rate Observe how quickly the soil dries after watering. A seedling that is actively growing and establishing roots will use water efficiently. If the soil remains soggy for a week or more, the roots may not be developed enough to absorb moisture, signaling it's not yet transplant time. Conversely, if it dries out very rapidly (in just a couple of days), it might already be root-bound in its temporary home, urging a sooner move.
The Ideal Season: Why Spring and Early Summer Reign Supreme
While the plant's signals are paramount, pairing them with the optimal season creates the perfect transplanting scenario. The best time to transplant snake plant seedlings is undeniably during the spring and early summer months.
The Science Behind Seasonal Timing Longer daylight hours and consistently warmer temperatures are the triggers for your snake plant’s growth engine. Transplanting in this season leverages the plant's natural biological programming. The warm soil encourages rapid root development into the new potting mix. Ample sunlight provides the energy (through photosynthesis) needed to fuel this expansion and repair any minor root damage incurred during the move.
Transplanting in spring gives the seedling the entire growing season to settle in, develop a robust root network, and store energy before the slower winter months. A study published in the Journal of Environmental Horticulture on transplant stress in succulents supports this, finding that plants moved during active growth phases showed significantly higher survival rates and biomass gain compared to those transplanted during dormancy.
")
Navigating Other Seasons
- Late Summer/Early Fall: This can be acceptable if you live in a climate with mild winters or your home remains consistently warm and bright. However, it leaves less time for establishment before winter dormancy. Only proceed if the seedling shows strong readiness signals.
- Winter: Avoid transplanting unless absolutely necessary (e.g., severe rot). If you must, ensure the plant is in a very warm, bright location and be extra cautious with watering.
A Step-by-Step Guide to the Transplanting Process
Once your seedling is signaling readiness and the season is right, follow this process.
1. Preparation: Gathering Your Supplies You will need:
- A new pot with drainage holes (only 1-2 inches larger in diameter than the root ball).
- A well-draining succulent or cactus potting mix.
- Optional: Perlite or pumice to mix into the soil for extra drainage.
- Gloves (snake plant sap can be mildly irritating).
- A clean, sharp knife or trowel.
2. The Gentle Uproot Water the seedling lightly a day before transplanting to reduce stress. Gently squeeze the pot to loosen the soil, then tip it sideways, supporting the base of the plant as it slides out. Handle the roots with care.
3. Root Inspection and Pot Selection Tease apart any circling roots gently. This encourages them to grow outward into the new soil. Select a pot that gives the roots only a little room to grow—snake plants actually prefer being slightly root-bound. A pot that is too large holds excess moisture, which is the main cause of root rot.
4. The Perfect Planting Place a layer of fresh potting mix in the bottom of the new pot. Position the seedling so the base of the leaves is at the same soil level as before. Fill in around the sides with more mix, gently firming it to eliminate large air pockets. Do not pack it down tightly.
5. The Critical Aftercare: Watering and Placement
- Watering: Do not water immediately! This is a crucial step. Wait 5-7 days before giving the plant its first thorough drink. This allows any minor root abrasions to callus over, preventing rot.
- Placement: Place the newly potted seedling in bright, indirect light. Avoid direct, harsh sunlight for the first 2-3 weeks as it adjusts. Maintain normal room temperatures.
Common Pitfalls to Avoid After Transplanting
Even with perfect timing, avoid these mistakes:
- Overwatering: This is the #1 killer. Always err on the side of underwatering, especially in the weeks following a transplant.
- Fertilizing Too Soon: Never fertilize a newly transplanted snake plant. Wait at least 4-6 weeks, or until you see clear new growth, to avoid burning the tender new roots.
- Placing in Direct Sun Immediately: This can scorch leaves and add to transplant shock. Acclimate it gradually.
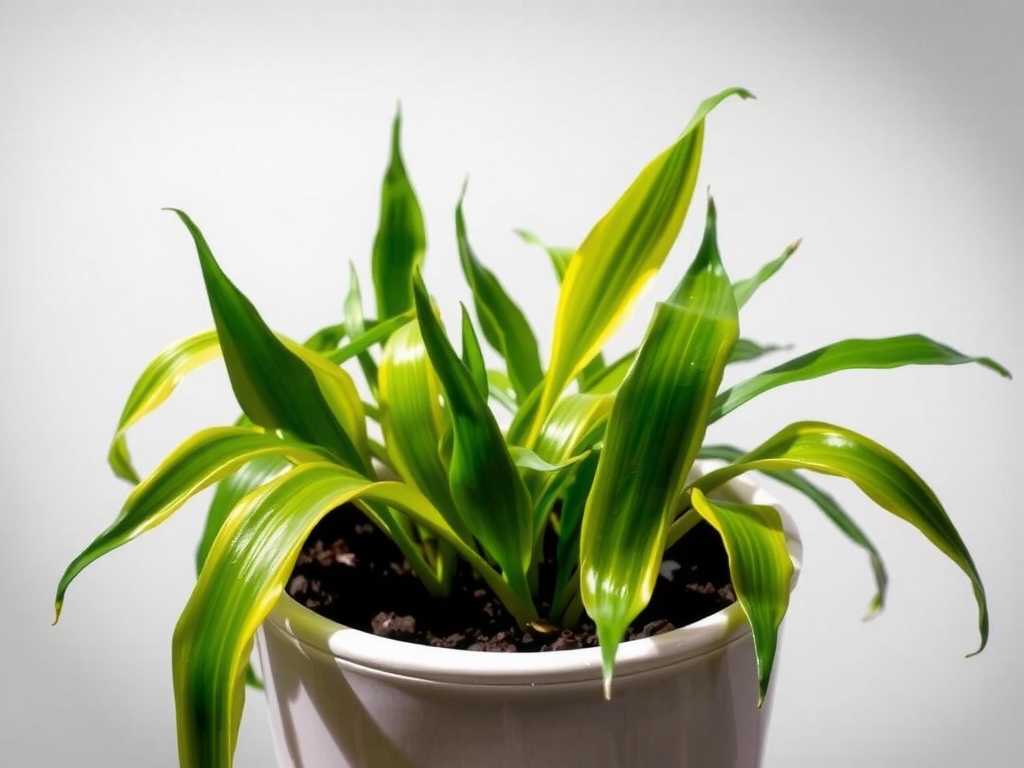
My seedling’s leaves are a bit wrinkled after transplanting. Is this normal? Yes, mild wrinkling can be a normal sign of adjustment as the plant focuses energy on root establishment. Ensure it is in appropriate light and that you followed the delayed watering rule. The leaves should plump up as the roots settle. Persistent or worsening wrinkles may indicate underwatering after the initial waiting period.
Can I transplant a snake plant seedling I just bought from a store? It’s often advisable to let a newly purchased plant acclimate to your home environment for 2-4 weeks before transplanting. Store-bought plants are often in optimal potting mix for nursery conditions. Transplant only if the pot is clearly too small, has no drainage, or the soil seems poor. Otherwise, enjoy it in its current pot until the next growing season.
How long will it take for my transplanted seedling to show new growth? Patience is key. Depending on the season and growing conditions, it may take 3 to 8 weeks before you see a new leaf spear emerging. This time is spent unseen, underground, as the plant builds its root foundation. The wait is a sign it’s settling in properly.
Successfully propagating snake plants through division is rewarding, and ensuring the survival of those new seedlings hinges on strategic timing. By patiently waiting for the plant’s own signals of root establishment and new growth, and by aligning your actions with the energy of the spring and summer seasons, you dramatically increase your chances of success. Remember the core principles: look for established roots, choose the warm season, pot in a snug container with excellent drainage, and resist the urge to overwater. By mastering the art of timing, you give each new snake plant seedling the strongest possible start for a long and healthy life.
发表评论