How to Keep Snake Plant Leaves Upright and Not Skewed: Pro Tricks
")
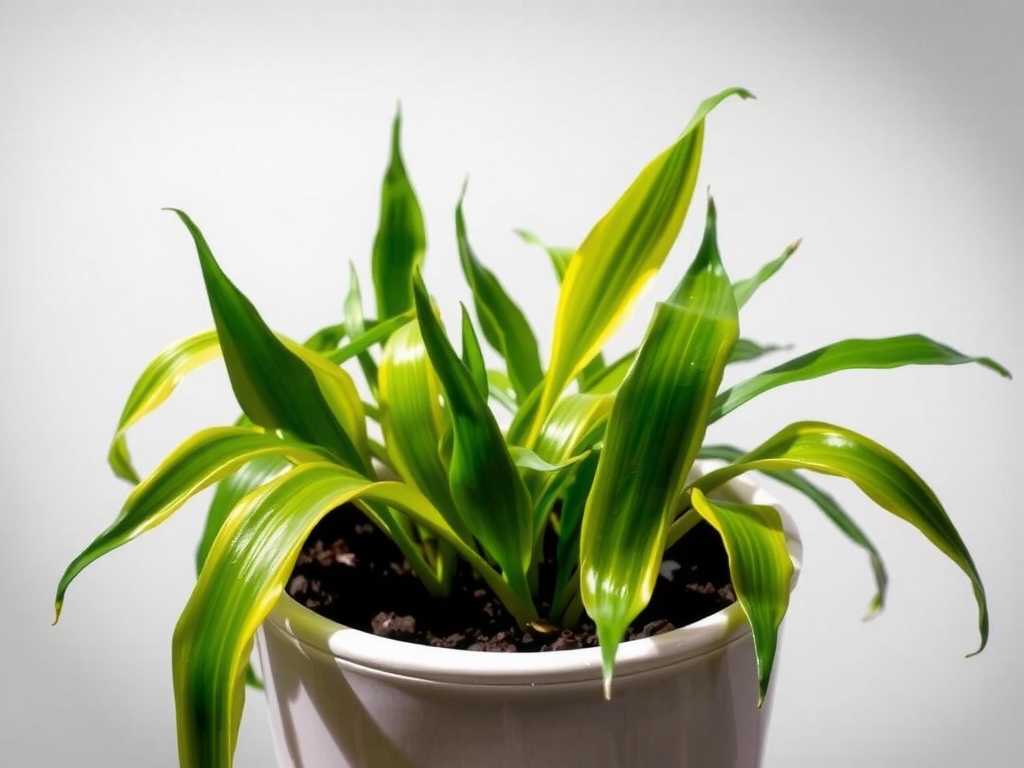
You’ve brought home a stunning snake plant, its architectural leaves standing tall and proud. But weeks later, you notice it. Some leaves are starting to lean, bending awkwardly towards the light, or worse, flopping over completely. That once-perfect silhouette is now skewed and messy. If this is happening to you, know that you’re not alone. I’ve been there, staring at my own lopsided Sansevieria, feeling like I’d failed a supposedly “unkillable” plant. The good news? A skewed snake plant is almost always a fixable problem. It’s the plant’s way of communicating its needs. After years of trial, error, and a particularly enlightening two-week experiment, I’ve compiled the pro tricks to get those leaves standing tall again.
The key to understanding the lean is simple: snake plant leaves skew or flop due to inconsistent light, improper watering, physical damage, or being rootbound. Addressing these factors systematically will restore its upright, sculptural form.

Decoding the Light: Your Plant’s Silent Compass
Light is the single biggest factor influencing your snake plant’s posture. While they tolerate low light, they thrive and maintain structure in bright, indirect light.
The Great Window Experiment: My Two-Week Observation I had a ‘Moonshine’ snake plant that developed a pronounced lean. I suspected light was the culprit. For two weeks, I conducted a simple test. I marked the pot and did not rotate it. I placed it about three feet from a large east-facing window. The results were crystal clear.
- Week 1: The lean, which was already present, became more acute. Every leaf was visibly curving toward the light source. New growth was also emerging at an angle, aiming directly at the window.
- Week 2: The curve was undeniable. The plant no longer looked centered; it looked like it was straining. This was the “aha!” moment that proved how phototropic (light-seeking) these plants are, even as slow growers.
The Pro Fix: Strategic Rotation and Placement The fix is effortless but requires consistency. Every time you water your plant, give the pot a quarter turn (90 degrees). This ensures all sides receive even light exposure, promoting straight, vertical growth. If your plant is in very low light, consider moving it to a brighter spot, but avoid harsh, direct southern sun which can scorch leaves. A north or east-facing window is often ideal, or a spot a few feet back from a south or west window.
The Watering Tightrope: Weak Foundations Cause Collapse
Overwatering is the arch-nemesis of the snake plant. It doesn’t just cause root rot; it directly leads to weak, mushy, and floppy leaves.
The Pitfall I Fell Into: The “Schedule” Mistake Early on, I watered my plants on a calendar schedule. Every two weeks, like clockwork. This is a classic mistake. One winter, the soil simply wasn’t drying out due to lower light and cooler temperatures. I watered anyway. Soon, the thick, firm leaves of my ‘Laurentii’ began to feel soft. Then, several outer leaves yellowed at the base and collapsed entirely. The center of the leaf structure had literally rotted, providing no support.
The Pro Fix: The “Finger Test” and Soak-and-Dry Forget the calendar. The only schedule is the plant’s. Here’s my foolproof method:
- Check the Soil: Insert your finger into the soil up to the second knuckle. If it feels dry, it’s time to water. For snake plants, I often let the soil dry out completely throughout the entire pot. A moisture meter can also be a helpful tool for beginners.
- Water Thoroughly: When you water, do so completely. Take the plant to the sink and water until it flows freely from the drainage holes. This encourages deep root growth.
- Let it Drain: Never let the plant sit in a saucer of water. Empty it after 30 minutes. This method builds a strong, healthy root system that firmly anchors those upright leaves.
Physical Support and Leaf Health: First Aid for Your Plant
Sometimes, leaves are damaged or simply too heavy to support themselves, especially in taller varieties.
My DIY Staking Experiment I had a massive ‘Zeylanica’ with one particularly tall, heavy leaf that started to lean under its own weight. I didn’t want to cut it. Inspired by techniques often discussed by horticultural societies like the American Horticultural Society (AHS), which emphasizes non-invasive plant care, I used soft plant ties and a thin, green bamboo stake.
- I gently inserted the stake into the soil near the base of the leaning leaf, careful not to pierce major roots.
- Using a flexible velcro plant tie, I loosely looped it around the leaf and the stake, providing support at the mid-point of the lean. The key is loose – you’re guiding, not strangling.
- Over the next two weeks, I observed the leaf. The support prevented further leaning. Combined with corrected light (rotation), the leaf strengthened at its base. After about six weeks, I was able to remove the stake, and the leaf remained mostly upright.
When to Trim: A Tough but Necessary Choice Not every leaf can be saved. If a leaf is severely bent, mushy from rot, or broken, it’s best to remove it. Use clean, sharp shears to cut it off at the soil line. This redirects the plant’s energy to healthy, upright growth. The Royal Horticultural Society (RHS) advises clean cuts to prevent disease entry, a practice I always follow.
The Root of the Problem: Is Your Plant Cramped?
A rootbound snake plant can become top-heavy and unstable, causing the entire clump to tilt or leaves to splay out.
Signs It’s Time to Repot
- Roots are visibly circling the top of the soil or growing out of the drainage holes.
- Water runs straight through the pot without being absorbed (roots have taken over the soil space).
- The plant pops out of the pot easily, revealing a dense web of roots.
- Growth has completely stalled, and leaves seem congested.
My Repotting Process for Stability When my experiment plant showed these signs, I repotted it. I chose a pot only 1-2 inches wider in diameter. A pot too large holds excess moisture, leading back to overwatering problems. I used a well-draining cactus/succulent mix and ensured the plant was seated at the same depth as before, firming the soil around it to provide immediate stability. The difference in the plant’s posture and firmness in its pot was noticeable within days.
Why are my snake plant leaves folding or creasing? This is typically a sign of underwatering or extreme dehydration. While snake plants are drought-tolerant, they do need water. The leaves will start to fold in on themselves along their length when their moisture reserves are critically low. A thorough soak usually plumps them back up within a week.
Can I tie my snake plant leaves together to make them upright? I strongly advise against tightly binding leaves together. This restricts air circulation, creates a moist environment perfect for pests and fungus, and can damage the leaves. If you need support, use the single-stake method I described, or use open-loop ties that provide gentle guidance without constriction.
How long will it take to correct a leaning snake plant? Patience is key. For a lean caused by light, you’ll see new growth coming in straighter within a few weeks of starting regular rotation. Correcting posture in existing, mature leaves is slower; they may never become perfectly straight again but will stop leaning further. For issues related to watering or being rootbound, once the cause is fixed, the plant will stabilize, and new growth will be strong and upright. My two-week observations were diagnostic; the full correction process often takes a full growing season.
Getting your snake plant to stand tall again is about listening to its language. It’s not about complex fertilizers or magic solutions. It’s the fundamentals: consistent, even light; disciplined, infrequent watering; timely physical support; and adequate space for its roots. By mimicking the stable, bright, and dry conditions of its native habitat, you encourage the strong, upright growth that makes this plant a timeless icon of indoor gardening. Start with light, check your watering habits, and give it the structural help it needs. Your sculptural, confident snake plant will thank you.
发表评论