How to Care for Old Snake Plant Stumps to Encourage New Leaf Growth
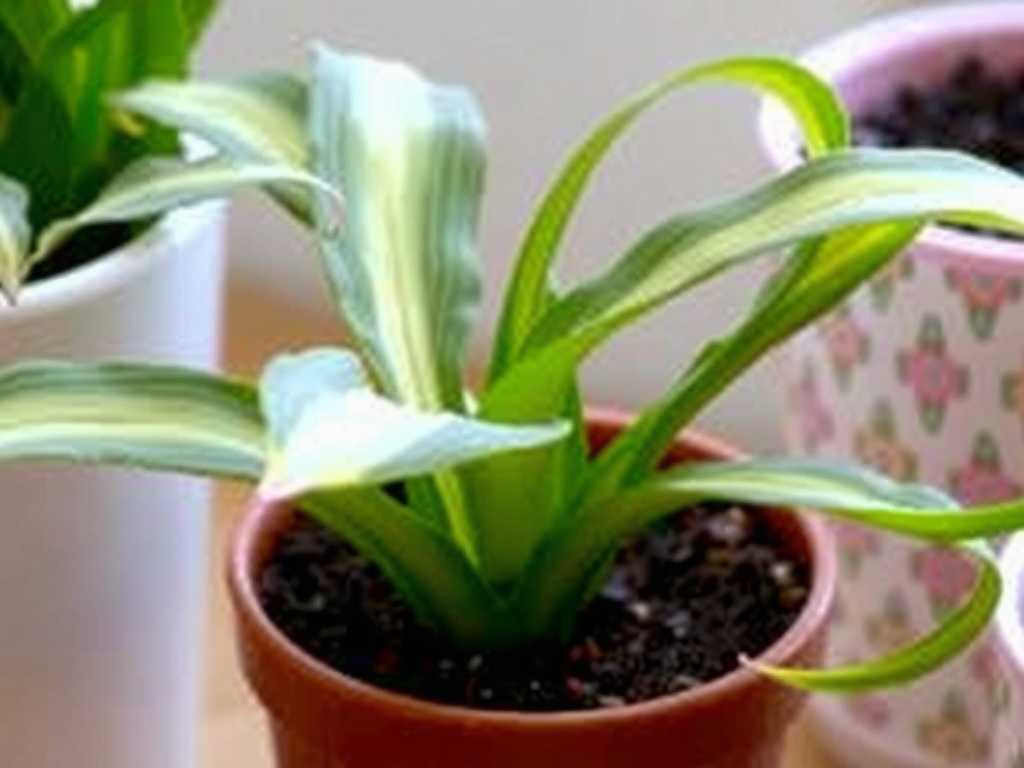
You’ve had that trusty snake plant for years. It’s survived neglect, low light, and maybe even a move or two. But now, all you’re left with are a few bare, woody stumps in the pot. The lush, sword-like leaves are long gone, and it feels more like a collection of driftwood than a living plant. I’ve been there, staring at those barren old snake plant stumps, wondering if they’re destined for the compost bin. The core frustration is real: you have a plant that’s technically alive but shows no signs of the vibrant growth you desire. You want to know if these stumps can be revived and, more importantly, how to encourage new leaf growth from what seems like a lost cause.
I’m a hands-on plant enthusiast, and I refused to give up on my decades-old snake plant. Through trial, error, and a two-week intensive care experiment, I discovered that these resilient stumps hold immense potential. This guide is my firsthand account of the exact process that transformed my dormant stumps into sources of fresh, green life.

Understanding Your Snake Plant Stump: It’s Not Dead, It’s Dormant
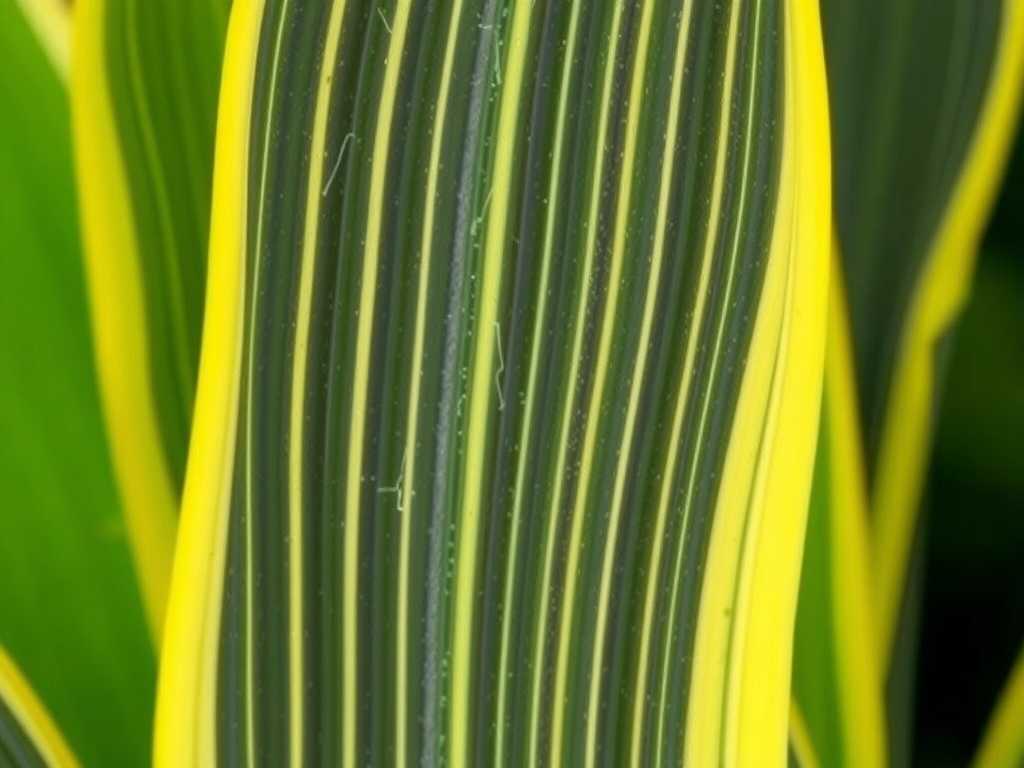
First, let’s reframe our thinking. That tough, brown stump is a rhizome. Think of it as an underground energy storage unit. According to the Royal Horticultural Society (RHS), snake plants (Dracaena trifasciata, formerly Sansevieria) store water and nutrients in these rhizomes, allowing them to survive prolonged periods of stress. When conditions become unfavorable—like chronic overwatering, extreme root-bound stress, or insufficient light—the plant may sacrifice its older leaves to preserve the core rhizome. Your stump isn’t dead; it’s in survival mode, waiting for the right signals to redirect its energy into new growth.
My Step-by-Step Revival Process for Old Snake Plant Stumps
I committed to a structured, two-week plan to wake up my stumps. The goal was to create the ideal environment for the rhizomes to produce new pups and leaves.
Step 1: The Diagnostic Unpotting and Root Assessment
I gently removed the stumps from their old soil. The scene was familiar: a tangled, pot-bound root ball and soil that had become hydrophobic. I carefully washed away the old soil to inspect the rhizomes. This is crucial. You’re looking for firm, cream-colored or orange-tinted roots and rhizomes. Any soft, mushy, or blackened sections indicate rot and must be cut away with a sterilized knife. I found a few suspect spots, trimmed them, and let the rhizomes air-dry for a few hours. This callusing prevents rot when repotted.
Step 2: Strategic Pruning and Division for Energy Redirect
This step feels drastic but is essential. I examined the height and condition of each stump. Using clean, sharp shears, I cut back the tallest, leafless stumps to just a few inches above the soil line. Why? The American Horticultural Society (AHA) notes that pruning removes non-productive tissue and stimulates the plant to focus its resources on new growth points. If your stump cluster is large, you can also gently divide it by pulling apart rhizomes that have natural separations. This gives each section more space and resources.
Step 3: Repotting with the Perfect Fast-Draining Mix
Snake plants demand excellent drainage. I used a simple, effective mix: 2 parts standard potting soil, 1 part perlite, and 1 part coarse sand. I selected a pot only 1-2 inches wider than the root mass, with ample drainage holes. A pot too large holds excess moisture, inviting rot. I planted the stumps at the same depth they were before, firming the soil gently around them.
Step 4: The Critical First Watering and Placement
Here’s where I’ve failed in the past. I did not drench the soil immediately. After repotting, I gave the plant a very modest drink, just enough to settle the soil. Then, I placed it in a spot with bright, indirect light—a north or east-facing window is ideal. Direct, harsh sun can scorch a recovering plant. The key is consistent, warm temperatures and plenty of ambient light.
My Two-Week Observation Diary and the Pitfalls I Encountered
- Days 1-3: No visible change. The soil dried out quickly due to the airy mix. I resisted the urge to water again.
- Days 4-7 (The First Pitfall): I noticed one stump’s cut end looked slightly sunken. I feared rot. Mistake: I had watered the foliage crown during settling. Solution: I carefully scooped away a little soil from around that stump to improve air circulation and vowed to only water the soil base.
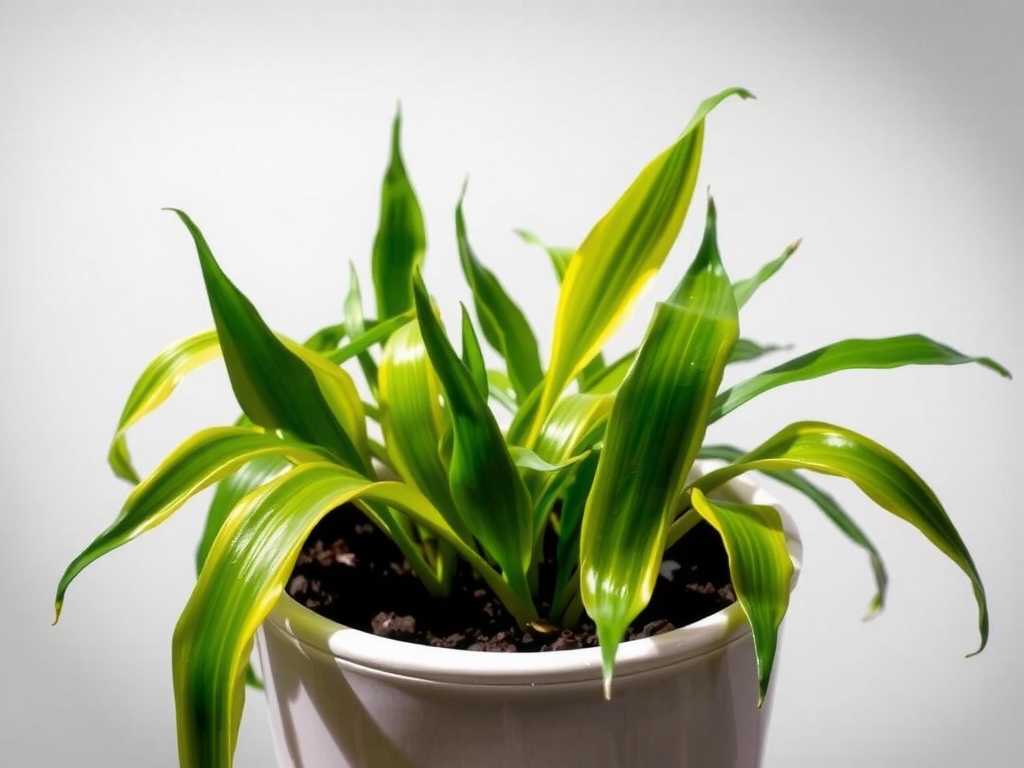
- Days 8-10: A breakthrough! At the base of two stumps, I spotted tiny, pointed green nubs breaking through the soil—new snake plant pups were emerging! This was the first sign of successful propagation from old stumps.
- Days 11-14: The pups grew noticeably, about a quarter-inch tall. The other stumps remained unchanged but firm and healthy. I initiated a proper watering cycle: a thorough soak only when the soil was completely dry two inches down.
The most important lesson? Patience and restraint with water are more critical than any fertilizer or special treatment at this stage.
Optimizing Long-Term Care for Sustained Growth
Once your stumps show signs of life, shift to a long-term strategy.
Light: The Non-Negotiable Catalyst While snake plants tolerate low light, they thrive and produce robust growth in medium to bright indirect light. I moved my recovering plant to a brighter spot (avoiding direct afternoon sun), and the growth rate of the new pups visibly accelerated.
Watering: The Discipline of Neglect Overwatering is the #1 killer. I follow the “soak and dry” method religiously. I water deeply until it runs from the drainage holes, then allow the entire pot to dry out completely before even considering more water. In my home, this means watering every 3-4 weeks in winter and maybe every 2-3 weeks in summer.
Nutrition: A Gentle Boost Do not fertilize a newly repotted plant for at least 3-4 months. Once actively growing, I feed my snake plant with a balanced, half-strength liquid fertilizer (like a 10-10-10) only once during the spring and once in the summer. This provides the nutrients needed for developing healthy new leaves without causing chemical burn.
Common Questions from Fellow Plant Lovers
Can a completely leafless snake plant stump grow back? Absolutely, yes. If the rhizome is firm and healthy, it contains all the meristematic tissue needed to generate new growth points (pups). Providing the right care—primarily proper light and disciplined watering—triggers this process. My own experiment is proof.
How long does it take to see new growth from an old stump? Timeline varies. In my ideal summer conditions, I saw pups in 10 days. For others, it may take 4-8 weeks. Do not disturb the soil to check. If the stump remains firm, it is still viable. The season matters greatly; growth is fastest in the warmer, brighter months.
")
Should I use rooting hormone on the stumps? It’s not necessary for snake plant rhizomes, as they are not traditional cuttings. Their growth comes from buds on the rhizome itself. However, if you are propagating a leaf cutting, using a rooting hormone on the cut end can speed up root development. For stump revival, focus on the environmental factors instead.
Reviving old snake plant stumps is a rewarding exercise in patience and understanding plant physiology. It dismantles the myth that these are merely low-light survivors and reveals them as resilient growers capable of remarkable comebacks. By assessing the rhizome’s health, repotting strategically, mastering the soak-and-dry watering rhythm, and providing sufficient light, you transform those barren stumps into a foundation for a lush, renewed plant. The emergence of those first green pups is a small victory that underscores a fundamental principle of gardening: life, when given the right conditions, persistently finds a way.
发表评论