How to Build a Shade Shed for Snake Plant Cuttings to Protect from Sunburn
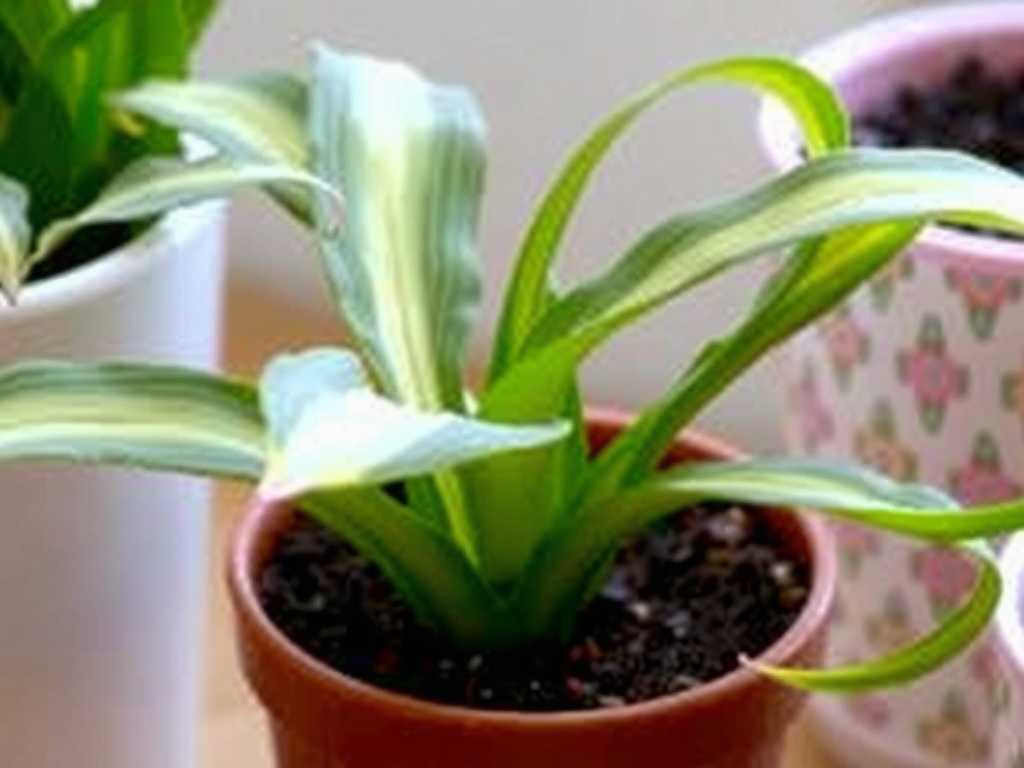
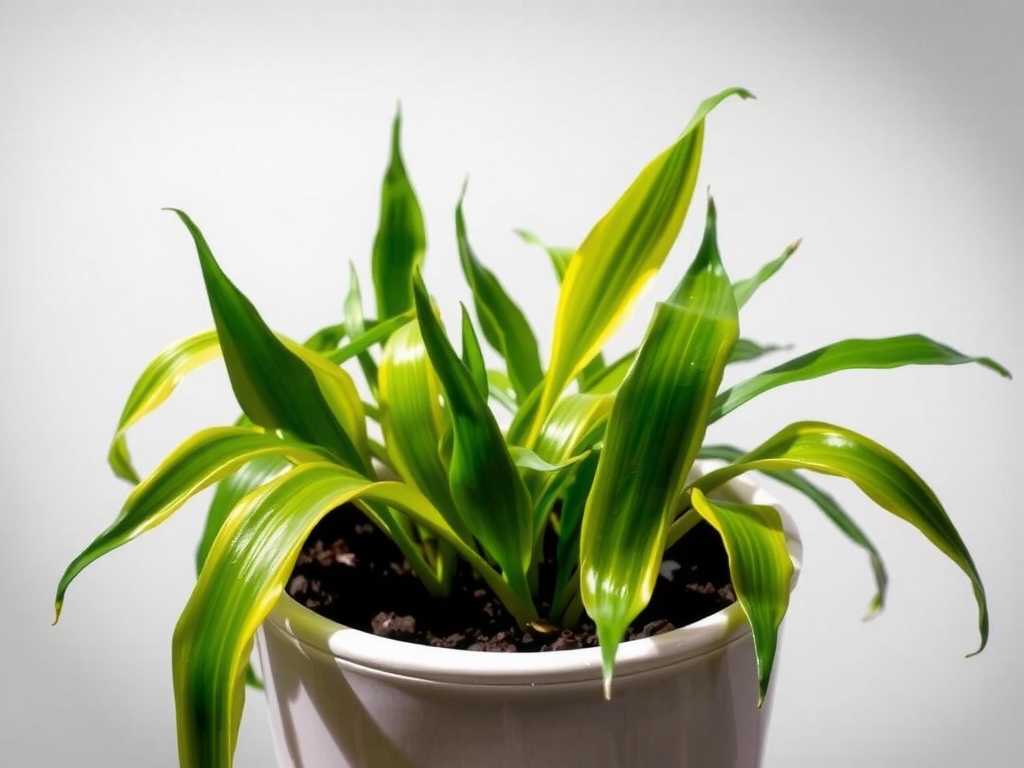
Watching your beloved snake plant cuttings develop crispy, brown, or bleached leaves is a heart-sinking experience for any plant enthusiast. You’ve carefully propagated them, only to see them suffer from too much direct sunlight. This common issue, known as sunburn, can stunt growth, damage tissue, and even kill young cuttings. The solution isn’t to shove them into a dark corner but to provide controlled, dappled light. Building a dedicated shade shed is the perfect, cost-effective way to create an ideal recovery and hardening-off environment. This guide will walk you through every step of constructing a functional shade structure to protect your snake plant cuttings and ensure they thrive.
Understanding the Need: Why Snake Plant Cuttings Are Sun-Sensitive

Newly propagated snake plant cuttings are incredibly vulnerable. Their root systems are underdeveloped, making it difficult to transport water to the leaves to cope with intense heat and light. Unlike mature plants, they haven’t built up the necessary resilience. Direct sunlight, especially during peak afternoon hours, causes rapid moisture loss and literal scorching of the tender leaf tissue. A shade shed replicates the protective canopy they would experience in their native, arid habitats of West Africa, filtering harsh rays while still allowing the bright, indirect light they need for photosynthesis.
Planning Your Shade Shed: Location, Size, and Materials
Before you start building, a little planning ensures your structure is both effective and durable.
Choosing the Perfect Spot Select a location that receives morning sun but is protected from the intense afternoon rays. An area with eastern exposure is often ideal. Ensure the ground is level and has good drainage to prevent water from pooling around your cuttings. Consider proximity to a water source for easy maintenance.
Determining the Right Size Assess how many cuttings or pots you need to accommodate. A simple structure of 3 feet wide by 4 feet long and about 4-5 feet tall is a great starting point for a hobbyist. This provides ample space for multiple trays while remaining manageable.
Gathering Your Materials You don’t need expensive materials. The goal is functionality.
- Frame: PVC pipes (3/4 inch diameter are sturdy and easy to work with), wooden stakes, or even repurposed old pallet wood.
- Cover (The Key Element): Shade cloth is the best option. For sensitive snake plant cuttings, a 50-70% density shade cloth is perfect. It blocks a significant portion of the sun while diffusing the remaining light gently. Avoid using solid tarps, as they block all rain and can create a stagnant, hot environment.
- Fasteners: Zip ties, sturdy twine, or UV-resistant plastic clamps for attaching the shade cloth to the frame.
- Tools: Measuring tape, a saw (for cutting PVC or wood), a mallet (for driving stakes), and scissors.
A Step-by-Step Guide to Construction
Follow these clear steps to build a sturdy and reliable shade shed.
Step 1: Build the Frame For a simple PVC frame, construct two identical rectangular ends using PVC pipes and elbow connectors. For a 3’x4’ shed, make each end frame 3 feet wide and 4 feet tall. Connect these two end frames with longer PVC pipes running along the top and sides to form the length of the structure (4 feet). Secure all joints firmly. If using wood, create a similar box frame and anchor it to the ground with stakes.
Step 2: Secure the Structure Drive wooden or metal stakes into the ground at each corner of your frame. Use zip ties or strong rope to lash the frame securely to these stakes. This prevents the lightweight structure from being tipped over by wind. Stability is crucial.
")
Step 3: Drape and Secure the Shade Cloth Lay your pre-cut shade cloth over the entire frame, allowing excess to drape down the sides. It’s beneficial to leave one of the longer sides with a loose flap you can easily lift for access. Secure the cloth tightly using zip ties, clamps, or twine every 12 inches along the frame. Ensure there are no large, loose gaps where direct sun can peek through.
Step 4: Optimize for Airflow and Access Good air circulation prevents fungal diseases and reduces heat buildup. If your cover is very snug, consider rolling up or tying back sections on the shadier sides during cooler, breezy days. Your access flap should be simple to open and close for daily checking, watering, and rotating your cuttings.
Best Practices for Cuttings Inside the Shade Shed
Building the shed is only half the battle. Proper management inside is key.
Acclimatization is Crucial Don’t immediately move cuttings from deep shade to your new shed if it’s very bright. Gradually introduce them over a week, increasing their time inside by an hour or two each day. This process, known as hardening off, allows them to adapt without shock.
Watering and Monitoring The shade cloth will reduce water evaporation, so be careful not to overwater. Check the soil moisture by feeling it an inch below the surface; water only when it’s dry. Regularly inspect leaves for any signs of stress, pests, or disease. The dappled light makes it easier to spot issues early.
Seasonal Adjustments As seasons change, so does the sun’s angle and intensity. In the height of summer, you might need to add an extra layer of cloth or move the shed to a shadier spot. In milder spring and fall, you can potentially use a lighter density cloth or open the structure more frequently.
My cuttings still look stressed. What am I doing wrong? Stress can come from factors beyond light. Ensure you are not overwatering, as soggy soil in a shaded, cooler environment can lead to root rot—a bigger threat than sunburn. Check that the shade cloth density is appropriate (50-70%) and that the cuttings weren’t already severely sunburned before moving them in, as damaged tissue will not recover.
Can I use something cheaper than shade cloth? While shade cloth is optimal due to its durability and perfect light diffusion, you can use temporary alternatives like a layer of cheesecloth, a loosely woven burlap sack, or even an old white bedsheet in a pinch. Be aware that these materials may degrade quickly in weather, hold moisture, or not provide consistent coverage.
How long should I keep my cuttings in the shade shed? There’s no fixed timeline. Keep them in the protected environment until they show strong, active growth—new shoots or significant root development. This could take several weeks to a few months. Once they are vigorously growing, you can begin the reverse hardening-off process to slowly introduce them to their final, brighter indoor or outdoor location.
Providing the right amount of light is the most critical factor in successfully propagating snake plant cuttings. A DIY shade shed offers a controlled microclimate that shields them from harsh sun while fostering the conditions they need to establish strong roots and healthy new growth. By following these practical steps, you move from guessing about light exposure to actively managing it, turning the vulnerable propagation phase into a period of guaranteed success. Your cuttings will reward your effort with robust growth, ready to become the next generation of resilient, beautiful snake plants.
发表评论