How to Prune Leggy Leaves on Snake Plants to Promote Bushier Growth
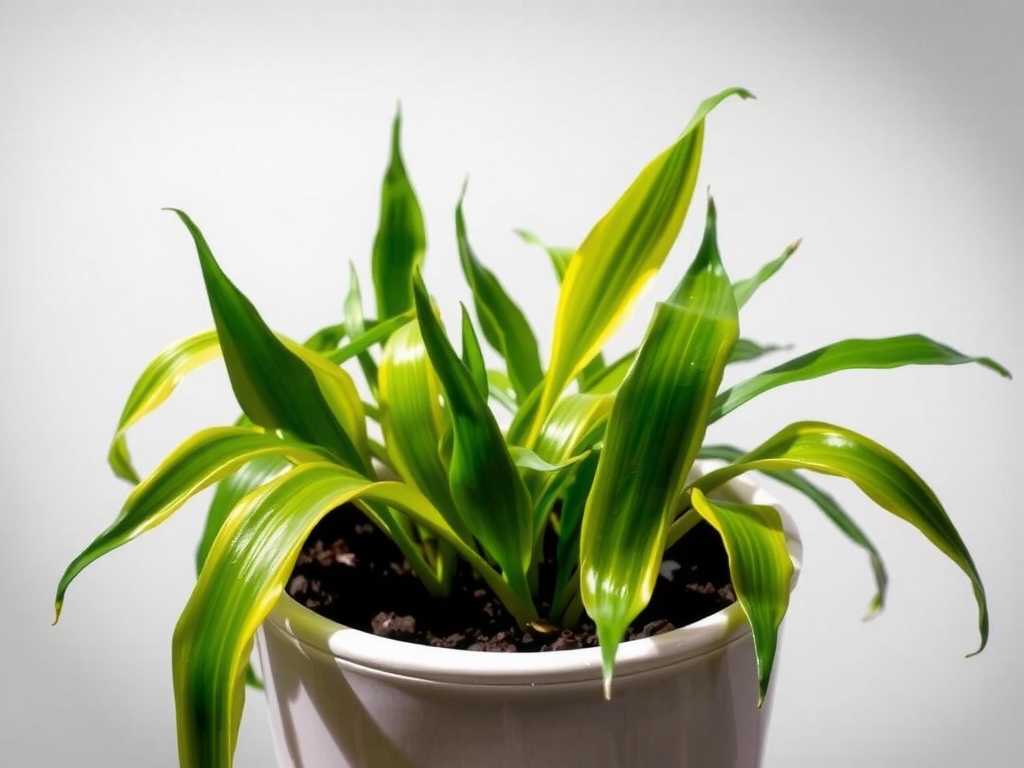
There's a special kind of disappointment that comes from watching your once-sturdy, architectural snake plant start to look… well, a bit sad. Instead of the compact, upright rosette you fell in love with, you’re faced with long, floppy leaves that splay outwards, some leaning so far they threaten to topple the whole pot. If you’re searching for how to fix a leggy snake plant, you’ve likely experienced this frustration. I certainly have. My beloved ‘Moonshine’ Sansevieria, which once stood proud, gradually transformed into a sprawling mess. It wasn't dying, but it had lost its vigor and beautiful form. After much research and hands-on experimentation, I discovered that strategic pruning is the key to not just fixing the problem, but triggering a bushier, more beautiful comeback. This guide is the culmination of my journey, including the mistakes I made, so you can confidently prune your snake plant for denser growth.
Understanding Why Your Snake Plant Gets Leggy

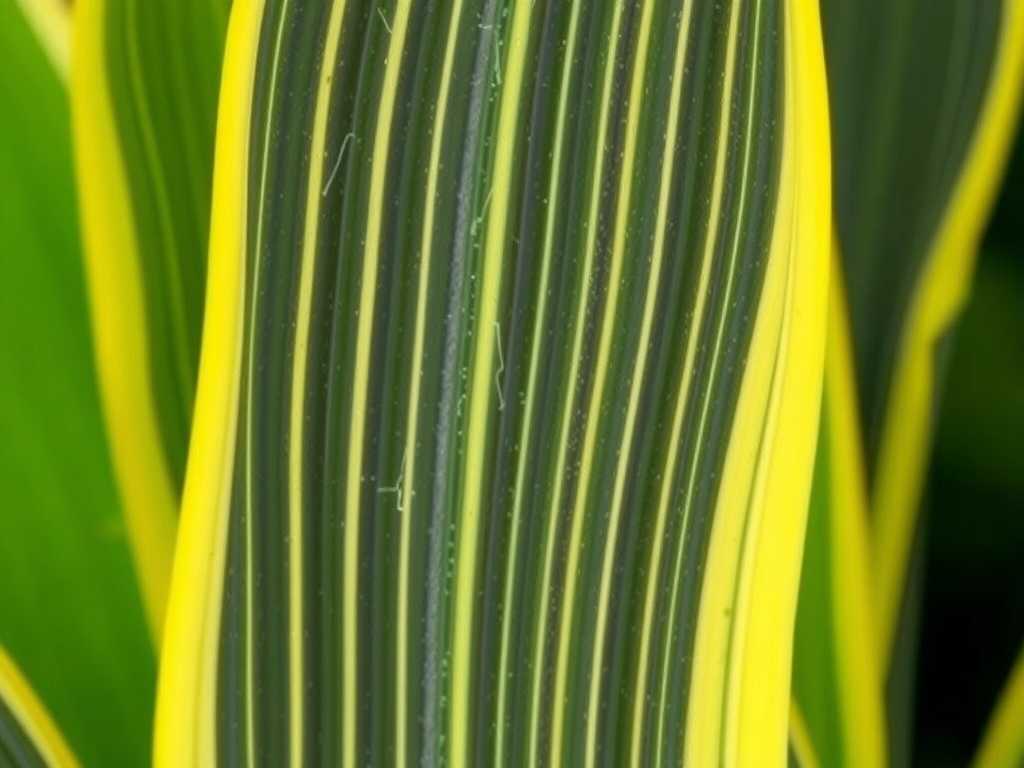
Before we make the first cut, it’s crucial to understand the "why." Pruning without diagnosing the cause is a temporary fix. Through my experience and consulting resources from the Royal Horticultural Society (RHS), I’ve learned legginess, or etiolation, in snake plants is primarily a cry for more light. These plants are tolerant of low light, but they thrive in bright, indirect light. In insufficient light, they stretch their leaves towards the nearest light source, resulting in weak, elongated growth and often a paler color. Other contributors can be inconsistent watering (causing stress) or simply the natural aging of outer leaves. Correcting the light situation is non-negotiable for long-term success; pruning is the restorative surgery that follows.
My Toolkit for the Perfect Prune
Gathering the right tools is step one. I learned the hard way that using dull, dirty scissors can crush leaf tissues and invite disease. Here’s what you’ll need:
- Sharp, Sterile Pruning Shears or Scissors: I use a pair of bypass pruners dedicated to my houseplants. Wiping the blades with isopropyl alcohol before and after use is a must.
- A Clean, Soft Cloth: For wiping blades and cleaning any sap.
- Well-Draining Potting Mix: Have some fresh cactus/succulent mix on hand in case you discover root issues or decide to propagate.
- Small Pots (Optional): For the leaf cuttings you’ll inevitably want to propagate.
- Patience: This is a process, not an overnight miracle.
The Step-by-Step Pruning Process: A 2-Week Transformation Log
This is where we get our hands dirty. I’ll walk you through the exact process I used on my ‘Moonshine’ plant, including my real-time observations over the critical first two weeks.
Step 1: The Assessment and Strategic Cut Don’t just start chopping willy-nilly. First, move your plant to a well-lit area and examine it. Identify the most severely leggy leaves—those that are excessively long, bent, or damaged. The goal is to remove these to redirect the plant’s energy. Here’s the golden rule I follow, backed by the American Horticultural Society’s (AHA) principles on pruning: Cut as close to the soil line as possible. Avoid leaving stumps, as they can rot. Make a clean, confident cut. I removed about one-third of the total leaves, focusing on the outer, oldest, and most floppy ones. Immediately, the plant looked tidier, but the real magic was yet to begin.
Step 2: Addressing the Root of the Problem (Literally) While the plant was out of its pot, I took the opportunity to check the roots—a step I initially skipped with another plant and regretted. Gently loosen the root ball. Look for firm, orange-white roots. Brown, mushy roots indicate rot, often from overwatering. If present, prune these away with sterile tools. I found mine to be healthy but slightly crowded. I chose not to repot but noted it for the next season. This root check is vital for promoting healthy new growth from the base.
Step 3: Post-Prune Care and the 2-Week Watch After pruning, I placed the plant in a spot with significantly brighter, indirect light (an east-facing window sill). I resisted the urge to water immediately, as the plant has fewer leaves to transpire water. I waited a full 10 days before giving it a thorough soak, ensuring all excess water drained away.
- Day 1-3: The plant looked neat but bare. No visible changes.
- Day 4-7: I noticed the cut ends at the soil line had calloused over perfectly, with no signs of rot or mushiness.
- Day 8-14: This was the exciting part. Peeking into the center of the rosette, I spotted not one, but two tiny, bright green nubs pushing through the soil—new rhizome shoots! This was the clear signal the plant was redirecting its energy to produce new, compact growth from the base. The remaining leaves also seemed to stand a bit taller, no longer weighed down by their leggy companions.
Propagating the Cuttings: Don’t Waste a Single Leaf! Those leggy leaves you cut off hold immense potential. I turned mine into new plants. I cut the healthy sections of the leaves into 3-4 inch segments, noting which end was the bottom. I let them callous for 2 days, then planted a few in soil and placed a few in water. The soil propagations developed slower but produced sturdier pups. The water cuttings rooted quickly, but transitioning them to soil later was trickier. My advice? For beginners, go with the soil method for a smoother transition.
Common Pitfalls I Encountered and How to Avoid Them
My journey wasn’t flawless. Here’s where I stumbled so you don’t have to:
- The Overwatering Panic: After my first prune, I watered the plant thinking it needed help to recover. This led to yellowing on a remaining leaf. I learned that a pruned snake plant needs less water initially. Always let the soil dry completely between waterings post-prune.
- The Stump Mistake: On my first attempt, I cut a leaf halfway down, leaving a tall stump. It didn’t rot, but it never grew back and looked unsightly. Always cut at the base.
- Impatience with Growth: I expected changes in days. Snake plants operate on their own schedule. The 2-week mark for new shoot visibility is a realistic expectation.
Optimizing Conditions for Bushier, Denser Growth
Pruning is the catalyst, but environment sustains the results. To prevent future legginess and encourage your snake plant to grow fuller, ensure:
- Light: Provide bright, indirect light for at least 6-8 hours daily. A south or east-facing window is ideal.
- Watering: Water only when the soil is 100% dry, and then water deeply. This encourages strong root growth, which supports dense foliage.
- Pot Size: A slightly root-bound snake plant will often produce more pups (baby plants) as it focuses energy on reproduction. Don’t over-pot.
Frequently Asked Questions
")
Will the cut leaves grow back? No, a cut leaf will not regenerate from the cut point. The growth comes from the rhizome (underground stem) at the base, which will produce entirely new shoots. The pruned leaf is gone for good, which is why we propagate the cuttings.
How often should I prune my snake plant? There’s no set schedule. Prune as needed to remove damaged or excessively leggy growth, typically once a year or every other year. The best time is in the spring or early summer during the active growing season.
My pruned plant isn’t producing new shoots. What’s wrong? First, ensure it’s getting enough light—this is the most common reason. Second, check your watering; rot can halt all growth. Third, be patient. It can sometimes take a month or more for new shoots to appear, especially if the prune was done outside the growing season.
Seeing those first bright green shoots emerge from the soil of my pruned snake plant was incredibly rewarding. It transformed from a lanky, awkward specimen into a compact, thriving cluster of new growth. Remember, pruning is an act of care, not punishment. By removing the energy-draining, leggy leaves, you’re giving your plant a clear directive: grow bushy, grow strong, and fill out. Combine this strategic cut with the right light and careful watering, and you’ll have a denser, more beautiful snake plant that looks even better than the day you brought it home. The process requires a bit of courage and a lot of patience, but the results are truly worth it.
发表评论