Mastering the Cut: How to Control Cutting Depth for Snake Plant Leaf Cuttings to Boost Rooting
You’ve chosen a healthy snake plant leaf, you’re ready to propagate, and you make a clean cut. But then, doubt creeps in. Did you cut too high? Too low? Is this even the right spot? The single most common reason for snake plant cuttings to fail—rotting instead of rooting—often boils down to one critical factor: incorrect cutting depth. Getting this step wrong can waste weeks of waiting and lead to disappointment. This guide is dedicated to eliminating that guesswork. By understanding and controlling exactly where and how deep to cut, you transform propagation from a hopeful experiment into a predictable, successful process that reliably boosts rooting rates.
Why Cutting Depth is the Make-or-Break Factor for Snake Plant Propagation

Before we pick up the shears, it’s crucial to understand the science behind the cut. A snake plant leaf is not a uniform stick; it has distinct physiological zones that react differently to being cut and placed in water or soil.
The primary goal is to maximize the area of root primordia—the latent, undeveloped root cells—that are exposed to your rooting medium. Cutting in the wrong place severs these potential roots or exposes non-reactive tissue, leading to rot. Conversely, the perfect cut strategically positions the greatest concentration of these root-generating cells in direct contact with moisture, signaling the plant to rapidly develop a new root system. Horticulturists like those at the University of Florida IFAS Extension note that precise wounding in vegetative propagation directly influences the speed and uniformity of adventitious root formation, which is exactly what we’re triggering.
Step-by-Step: How to Determine and Execute the Perfect Cutting Depth
This process begins not with cutting, but with observation and preparation.
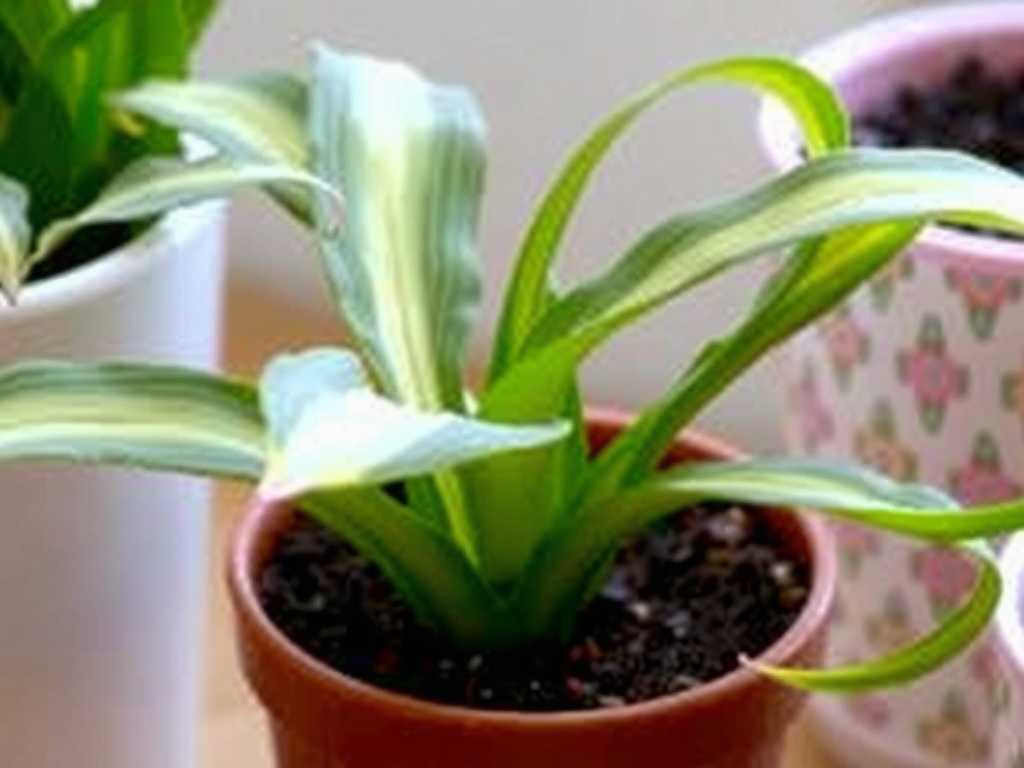
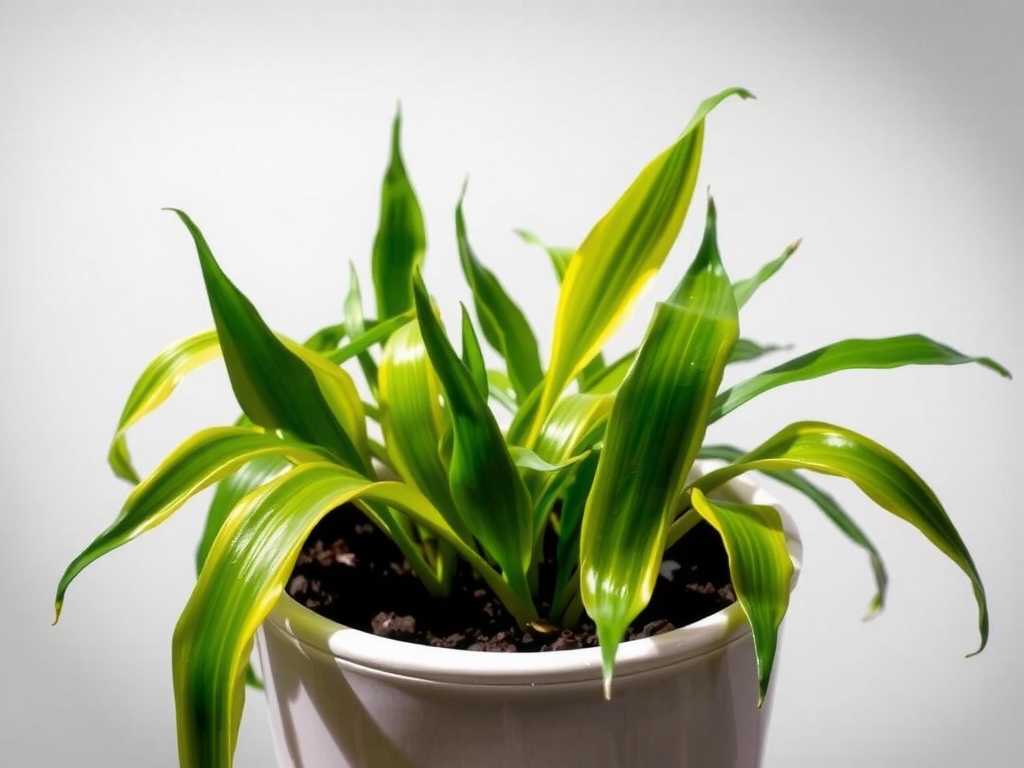
Selecting and Preparing Your Mother Leaf Always start with a mature, firm, and healthy leaf from the outer part of the plant. Avoid young, inner leaves. Using a clean, sharp blade (rubbing alcohol is perfect for sterilization), decide on your propagation method: a whole leaf cutting or a segmented one. For a whole leaf, you will be cutting at the very base. For segments, you’ll be making multiple horizontal cuts.
The Golden Rule for Whole Leaf Cuttings: Follow the Soil Line For a standard whole-leaf cutting, your target is the leaf base. Look for the slight color change where the green leaf emerges from the soil—this is often a pale yellow or white zone.
- The Correct Depth: Make your cut approximately 1 to 1.5 inches (2.5 to 4 cm) above the soil line. This ensures you are cutting through the leaf’s basal portion, which is richest in meristematic cells capable of producing roots. You should see solid, white interior tissue.
- The Critical Mistake to Avoid: Never cut below the soil line blindly. The underground rhizome and root system are separate, and damaging them harms the mother plant without benefiting your cutting. Your cut is on the leaf itself.
Precision Cutting for Leaf Segments: The Node Proximity Principle When creating multiple cuttings from one leaf, cutting depth control is about lateral positioning, not vertical.
- Mark Your Cuts: Cut your leaf into segments, each 2-3 inches long. This is vital: use a permanent marker to mark the BOTTOM of each segment immediately after cutting. Roots will only emerge from the bottom cut end.
- Control Depth Through Node Awareness: While snake plant leaves don’t have visible nodes like a monstera, the potential for rooting is greater in areas that were closer to the base. By ensuring your segments are a consistent, manageable length, you control the “depth” of each cutting’s inherent rooting potential. Always plant the marked-bottom end down.
The Direct Link Between Cutting Angle, Surface Area, and Rooting Success Depth isn’t just about location—it’s about geometry. A straight-across cut is fine, but a 45-degree angle cut is superior. This angled cut increases the surface area of the wound, creating a larger zone from which roots can emerge. More surface area means more opportunities for root primordia to activate. It’s a simple physical upgrade that directly boosts your cutting’s rooting capacity.
Post-Cut Protocol: Treating the Wound to Prevent Rot The fresh cut is an open wound vulnerable to pathogens in water or soil. Here’s how to fortify it.
- The Callusing Step: After cutting, you must let the wound air dry and form a callus. Place the cutting in a dry, shaded spot for 1-3 days. The cut end should feel dry and sealed over. This callus acts as a natural barrier, dramatically reducing the risk of rot when introduced to moisture. Skipping this is a primary cause of failure.
- To Use Rooting Hormone or Not? For snake plants, it’s optional but beneficial. After callusing, a quick dip of the cut end into a powdered rooting hormone can stimulate faster and more robust root development. It’s an extra layer of insurance that enhances the work you’ve done with your precise cut.
Optimizing Your Rooting Environment for Maximum Growth Your perfectly cut and callused cutting now needs the right environment. The medium must be moist but never soggy.
- In Water: Place the cutting so that only the bottom 25% is submerged. Change the water weekly to prevent bacterial growth. A clear vessel lets you monitor for both root growth and any signs of mushiness.
- In Soil: Use a well-draining mix (like a cactus/succulent blend). Insert the cutting deep enough to stand upright, typically about 1 inch into the soil. Water sparingly, only when the soil is completely dry. The goal is to provide slight moisture to encourage roots without soaking the vulnerable cut end.
Troubleshooting: Signs Your Cutting Depth Was Off Monitor your cuttings closely. Clear water helps here.
- Sign of Success: The cut end remains firm, and white, firm roots begin to emerge from the callused area within 3-5 weeks.
- Sign of Incorrect Depth/Rot: The cut end or the base of the cutting becomes soft, mushy, brown, or smelly. This indicates rot, often due to a cut that exposed tissue ill-equipped for rooting, a missing callus, or a too-wet environment.
How long should I expect to wait for roots after making the cut correctly? With a proper cut, full callus, and good conditions, you can typically expect to see the first white root nubs in 3 to 5 weeks. Full root systems suitable for potting can take 2 to 3 months. Patience is key—snake plants are not fast propagators, but precision sets them on the right path.
Can I save a cutting if the base starts to rot? Yes, if you act quickly. Remove the cutting from the water or soil. Using a sterile tool, cut away all soft, mushy, or discolored tissue until you only see clean, firm, white or green material. Re-callus the new wound for 1-2 days and restart the process in fresh water or soil. This is essentially giving your cutting a second chance with a corrected cutting depth.
")
Is it better to propagate snake plant cuttings in water or soil? Both work, but they offer different advantages. Water propagation allows you to witness root growth, which is satisfying and educational. Soil propagation can lead to slightly stronger roots adapted to soil from the start and skips the transition phase from water to soil. For beginners, water is often recommended because it makes monitoring for rot easier, allowing you to confirm your cutting depth technique was successful.
Successful snake plant propagation is a rewarding skill that hinges on a moment of precise action. By focusing on the cutting depth—targeting the leaf base, angling your cut, and enforcing a strict callusing period—you provide the fundamental instruction the plant needs to channel its energy into creating new roots. This controlled approach removes luck from the equation. With your knowledge now acting as the guide, every clean cut becomes a confident step toward a thriving new plant.
发表评论