How to Thin Soil-Cultivated Snake Plant Cuttings to Promote Healthy Growth
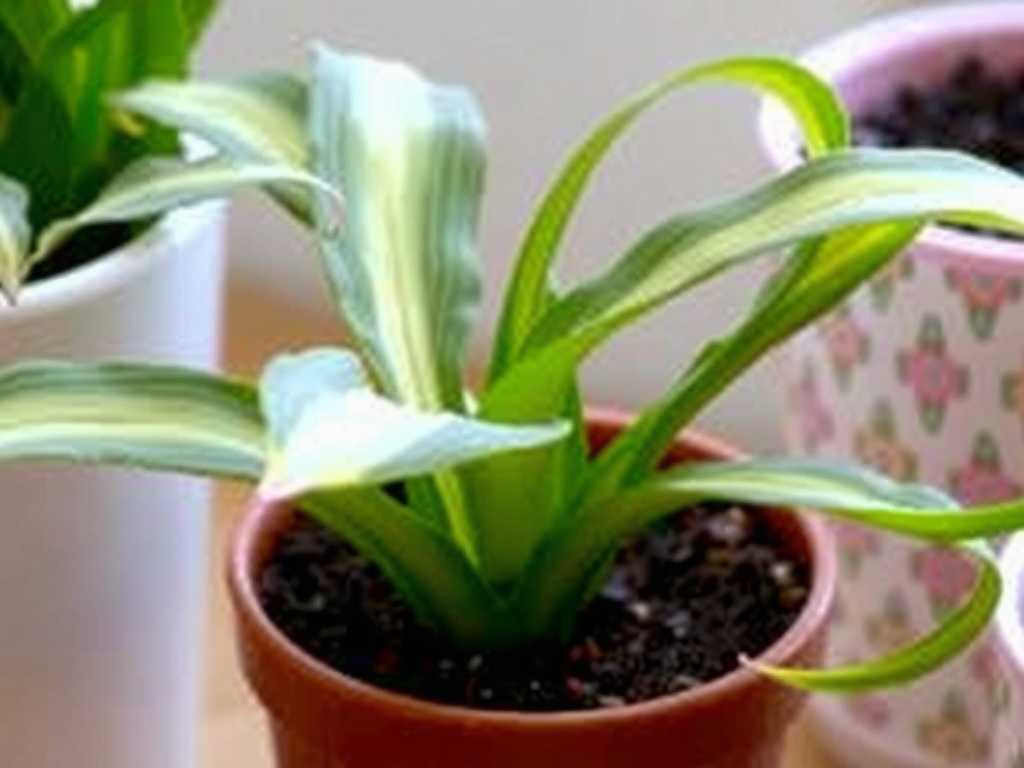
You've successfully propagated your snake plant, watching with pride as new shoots emerge from the soil. But now, the pot is a crowded tangle of leaves, and growth seems to have stalled. This common frustration is a clear sign your plant is begging for more space. Learning how to thin soil-cultivated snake plant cuttings is the essential next step to transform that cramped cluster into a collection of vigorous, independent plants. Thinning isn't just about aesthetics; it's a vital practice that redirects your plant's energy towards robust, healthy growth by eliminating competition for light, water, and nutrients.
This guide will walk you through the entire process, from knowing precisely when to act to executing the separation with confidence. We'll cover the tools you need, provide a step-by-step thinning method, and detail the aftercare to ensure every division thrives.

Understanding the "Why": The Critical Benefits of Thinning Cuttings
Thinning your propagated snake plant cuttings is a proactive measure that addresses several key issues inherent to crowded growth. When multiple cuttings or pups are left to grow in a tight space, they compete relentlessly for the pot's finite resources. This competition stunts the development of all plants involved, leading to smaller, weaker leaves and a general lack of vitality.
More importantly, a dense thicket of foliage creates a microenvironment with poor air circulation. Stagnant, humid air around the base of the leaves is the perfect breeding ground for fungal diseases and pests. By thinning the cuttings, you dramatically improve airflow, reducing the risk of rot and infestation. As noted in a review of best practices for succulent care by the University of Florida IFAS Extension, adequate spacing is crucial for preventing moisture-related pathologies in rhizomatous plants like snake plants.
Finally, thinning is the gateway to multiplication. Instead of one overcrowded pot, you create several new, well-established plants. This process allows you to expand your indoor garden, share with friends, or simply give each plant the individual attention and space it deserves to reach its full, architectural potential.
Recognizing the Right Time to Thin Your Propagations
Timing is everything. Acting too early can damage fragile, underdeveloped root systems, while waiting too long can cause unnecessary stress and entanglement. Look for these clear indicators that your soil-cultivated cuttings are ready for separation.
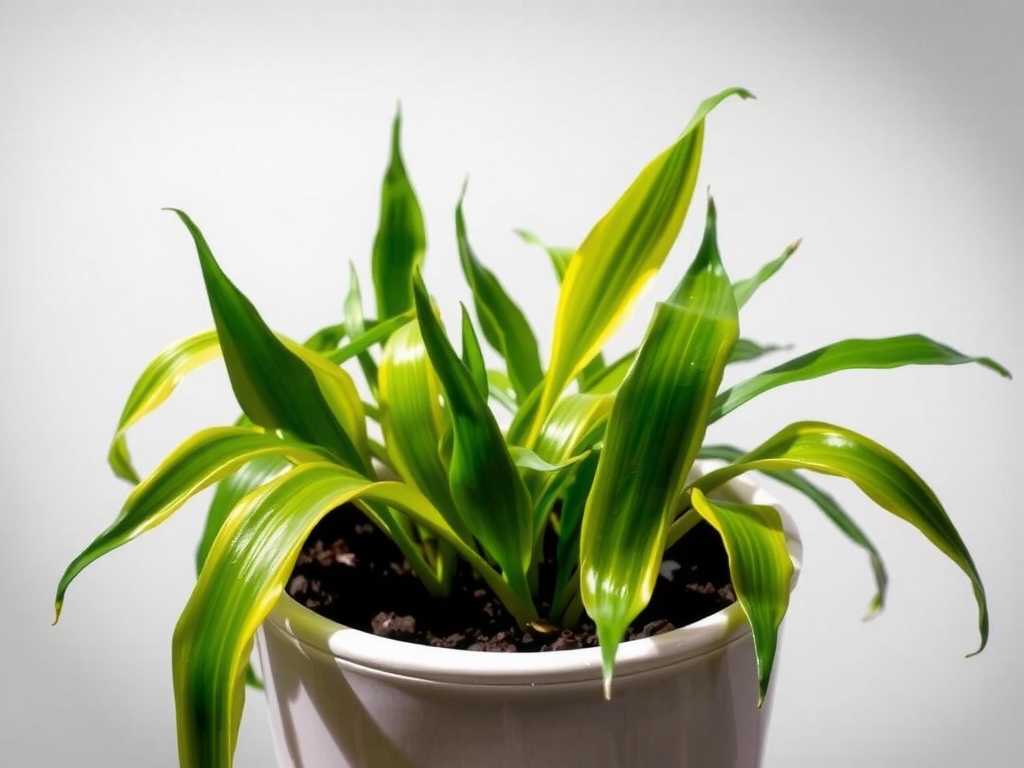
First, assess the foliage. Are the new shoots or "pups" clearly visible and have they developed at least 2-3 of their own leaves, roughly 4-6 inches tall? They should look like miniature versions of the mother plant. Second, consider the root system. A cutting ready for thinning will have established a sufficient root ball. Gently feel the base of the pup; if it offers firm resistance when given a very slight tug, the roots are likely established. The ideal time for this operation is during the plant's active growing season, typically in spring or early summer. This gives the newly separated plants the entire growing season to recover and establish themselves in their new pots.
Essential Tools and Preparation for Successful Separation
Gathering the right tools before you start makes the process smoother and minimizes stress for both you and your plants. You will need:
- A clean, sharp knife or a pair of sterilized pruning shears. Sterilize with rubbing alcohol to prevent transmitting disease.
- Fresh, well-draining potting mix formulated for cacti and succulents.
- Several new pots with adequate drainage holes. Terracotta pots are excellent for snake plants as they wick away excess moisture.
- Gloves to protect your hands (snake plant sap can be mildly irritating).
- Newspaper or a tarp to contain the mess.
Prepare your workspace and have everything within reach. Water the parent plant a day or two before thinning. Slightly moist soil will hold the root ball together better and make it easier to remove the plant from its pot compared to bone-dry or soggy soil.
A Step-by-Step Guide to Thinning Snake Plant Cuttings
Follow this detailed method to ensure a successful separation with minimal root damage.
Step 1: Remove the Parent Plant from Its Pot Turn the pot on its side and gently squeeze or tap it to loosen the root ball. Carefully slide the entire plant cluster out. Avoid pulling on the leaves. Place the root ball on your work surface.
")
Step 2: Gently Loosen the Soil and Inspect Using your fingers, carefully crumble away the old soil from the root mass. This will expose the rhizomes—the thick, horizontal stems from which both roots and shoots grow. Take this time to inspect the root system. Look for healthy, firm, white or orange roots. Any dark, mushy, or shriveled roots should be trimmed away with your sterilized tool.
Step 3: Identify and Separate the Individual Cuttings/Pups Trace the leaf cluster of the pup you wish to separate back to its point of connection on the main rhizome. Your goal is to ensure each division has both its own leaves and a portion of the rhizome with attached roots. Using your clean knife or shears, make a clean cut to sever the pup's rhizome section from the main plant. For very crowded clusters, you may need to untangle roots by hand before making the cut.
Step 4: Pot Up the New Divisions Fill your new pots partway with fresh potting mix. Place a division in the center, ensuring it sits at the same depth it was growing before. Backfill with soil, gently firming it around the roots to eliminate large air pockets. Leave a small space at the top for watering.
Step 5: The Crucial After-Thinning Care Do not water the newly potted divisions immediately. This is critical. The cut rhizome needs a few days to callous over, which helps prevent rot. Place the pots in a location with bright, indirect light. After about 5-7 days, give them a thorough initial watering. Then, revert to the snake plant's typical care routine: water only when the soil is completely dry, and avoid direct hot sun during this recovery period.
Troubleshooting Common Post-Thinning Issues
Even with careful execution, plants can sometimes show signs of stress. Here’s how to address them:
- Wilting or Drooping Leaves: This is common temporary transplant shock. Ensure the plant is in indirect light, not direct sun, and wait until the soil is fully dry before the next watering. It should perk up in 1-2 weeks.
- Yellowing Leaves: This often signals overwatering, especially risky after division. Check that the pot drains freely and let the soil dry out completely. If the yellowing is at the base and feels soft, you may need to unpot, remove rotted parts, and repot in dry mix.
- Lack of New Growth: Be patient. The plant is focusing its energy on re-establishing its root system underground. As long as the existing leaves are firm, new growth will appear in time, usually within the next growing season.
My snake plant cuttings have been in soil for months but haven't produced any pups to thin. What's wrong? Snake plants are notoriously slow growers, especially from leaf cuttings, which can take many months to a year to produce offsets. Ensure they are receiving enough bright, indirect light and that you are not overwatering. Patience is key. Rhizome divisions from a mature plant will produce pups much faster than leaf cuttings.
Can I just cut away the extra pups without repotting the main plant? While you can remove a pup by cutting its rhizome connection at the soil line, it's generally better to unpot the entire plant. This allows you to inspect the root health of the mother plant, refresh its soil, and make a clean, controlled cut without accidentally damaging nearby roots or rhizomes.
How often should I thin my snake plant? There's no set schedule. Thin your snake plant when it becomes visibly crowded, typically every 2-3 years, or when you notice slowed growth or the pot is bursting at the seams. It's a practice done on an as-needed basis rather than a routine calendar task.
Mastering the technique of thinning your soil-propagated snake plants is a rewarding skill that elevates your plant care. It moves you from simply keeping plants alive to actively managing their health and propagation. By giving each plant the space and resources it needs, you encourage stronger roots, more impressive foliage, and a sustainable cycle of growth. Remember, the few days of recovery stress are far outweighed by the years of healthy, unencumbered growth that follow. With your newly thinned and repotted plants, you've not only solved a problem but also created multiple opportunities for continued green success.
发表评论