How to Provide Sufficient Oxygen for Hydroponic Snake Plant Cuttings
You've carefully placed your snake plant cutting in a beautiful glass vase, filled it with water, and are eagerly waiting for roots to appear. But instead of thriving, the cutting's base starts turning soft, brown, and mushy. The leaves may begin to yellow, and growth seems to stall completely. This frustrating scenario is a common pain point for many plant enthusiasts transitioning snake plants, or Sansevieria, to water propagation. The culprit is often not a lack of water, but a lack of air. Understanding how to provide sufficient oxygen for hydroponic snake plant cuttings is the single most critical factor separating successful propagation from disappointing rot.
Unlike soil, which has tiny air pockets, water can quickly become depleted of the dissolved oxygen that your cutting's developing tissues desperately need. Without it, the cells suffocate, creating an environment where harmful anaerobic bacteria thrive, leading to that all-too-familiar rot. This guide will walk you through the science and practical steps to ensure your cuttings receive the oxygen they need to develop strong, healthy roots in water.

The Vital Role of Oxygen in Water Propagation
Oxygen is the silent engine of root development. When you take a cutting, it needs to generate new cells to form a root system. This process, called cellular respiration, requires oxygen. In soil, roots can access oxygen from air spaces between particles. In a static water setup, the cutting can only use the oxygen dissolved in the water, which is limited and consumed rapidly by the plant and any microbes.
")
Dr. Linda Chalker-Scott, a renowned horticulturist, emphasizes in her work on plant physiology that "oxygen availability in the root zone is a primary regulator of root growth and function." When oxygen is insufficient, the cutting shifts to inefficient anaerobic pathways, producing ethanol and lactic acid that damage its own tissues. This is why simply submerging a cutting in a jar of water and forgetting it is a recipe for failure. The goal is to create a dynamic, oxygen-rich aquatic environment that mimics the well-aerated conditions of a loose, healthy soil.
Step-by-Step: Creating an Oxygen-Rich Environment for Your Cuttings
Providing ample oxygen isn't about adding an air pump to every jar (though that is one effective method). It's about managing the entire system to maximize gas exchange. Follow these steps to set your cuttings up for success.
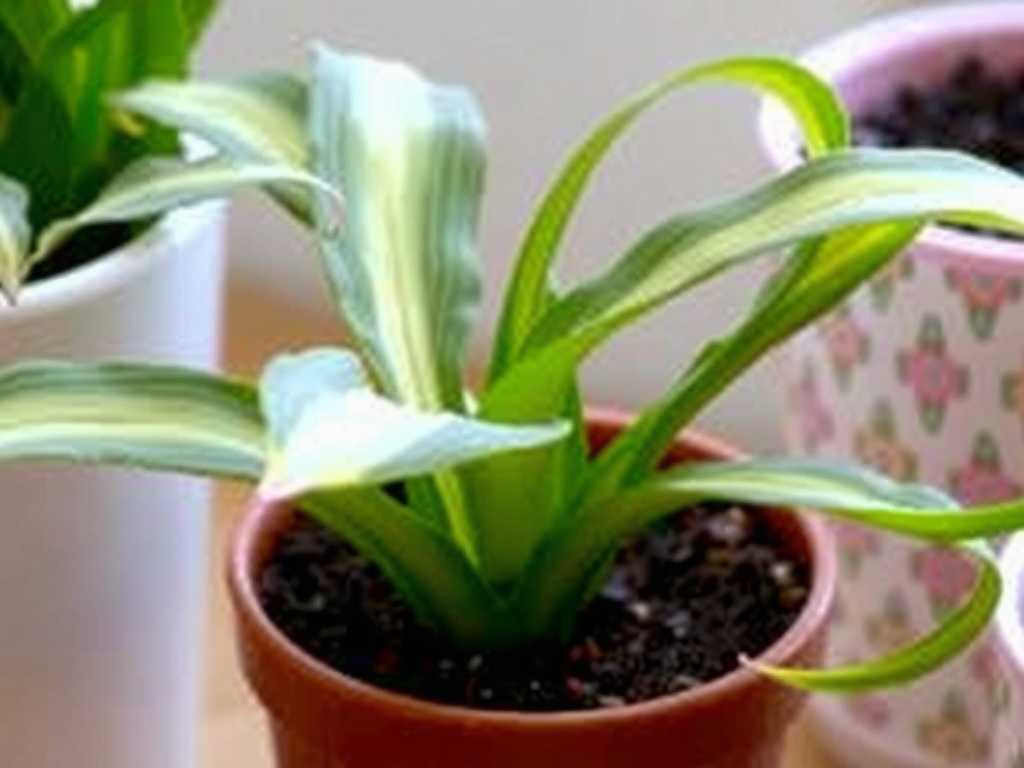
1. Selecting and Preparing the Perfect Cutting
The journey begins with a healthy parent plant and a proper cutting. Use a clean, sharp knife or shears to take a leaf section that is at least 3-4 inches long. For best results, make your cut at a 45-degree angle. This angled cut increases the surface area from which roots can emerge and, crucially, it exposes more of the cutting's vascular tissue to the water, enhancing potential oxygen uptake.
Allow the cut end to callus over for 24-48 hours in a dry, shaded spot. This callus is a protective barrier that seals the wound, significantly reducing the risk of pathogens entering and causing rot once submerged. A sealed cut end is less likely to leak excessive organic matter into the water, which decomposes and consumes oxygen.
2. Choosing Your Vessel and Water Wisely
The container you use plays a huge role in oxygenation. Narrow-necked bottles or vases might look aesthetic, but they severely limit the surface area of the water exposed to air. Opt for a wide-mouthed glass jar, cup, or vase. A greater surface area allows for more efficient gas exchange, letting oxygen dissolve into the water and carbon dioxide escape.
For water, use room-temperature filtered or tap water that has been left out for 24 hours to allow chlorine to evaporate. Avoid using distilled water exclusively, as it lacks beneficial minerals. Fill your vessel so that only the bottom 25% of the cutting is submerged—just enough to cover the node (the bump on the stem where roots form) or the callused end. Submerging too much of the stem drastically reduces the amount of the plant that can access atmospheric oxygen directly.
3. Strategic Placement and Water Management
Place your propagation vessel in a location with bright, indirect light. Direct sunlight can overheat the water, and warmer water holds less dissolved oxygen. A cooler temperature supports higher oxygen levels.
Change the water religiously every 5-7 days. This is non-negotiable. Fresh water brings a new supply of dissolved oxygen and flushes out organic waste and potential bacterial growth. When changing the water, gently rinse the cutting and the inside of the vessel to remove any slippery biofilm. Refill with fresh, prepared water at room temperature.
4. Advanced Aeration Techniques (For Guaranteed Success)
If you want to virtually eliminate the risk of rot and accelerate root growth, consider these advanced methods:
- The Water Change Frequency Method: Simply increase your water changes to every 3-4 days. This constant replenishment of oxygen is highly effective.
- The Agitation Method: Twice a day, gently swirl or shake the vessel to create movement on the water's surface. This agitation promotes gas exchange, pulling oxygen into the water. It’s a simple, zero-cost trick with significant benefits.
- The Aeration Pump Method: For a foolproof setup, use a small aquarium air pump and air stone. Bubbling air through the water provides a constant, super-oxygenated environment. This method is excellent for propagating multiple cuttings or more challenging plants and is a surefire way to ensure proper aeration for snake plant cuttings in water.
Troubleshooting: Signs of Oxygen Deprivation and Solutions
Even with care, issues can arise. Here’s how to identify and fix oxygen-related problems.
- Slimy Stem or Murky Water: This indicates bacterial growth fueled by low oxygen and organic matter. Immediately remove the cutting, rinse it thoroughly, clean the vessel with soap, and refill with fresh water. Consider more frequent changes or an aeration pump.
- Soft, Brown, Mushy Rot: This is advanced oxygen deprivation. Cut away all soft, affected tissue back to firm, healthy material. Re-callus the new cut for 48 hours before restarting the process in a clean vessel with optimized oxygen practices.
- Slow or No Root Growth: While snake plants are slow rooters, a complete lack of progress after 6-8 weeks often points to an unfavorable environment, including low oxygen. Review your setup—ensure a wide vessel, proper water level, and fresh water. Implementing the agitation method or switching to an aeration pump can jumpstart the process.
Frequently Asked Questions
Can I use hydrogen peroxide to add oxygen? Yes, in a controlled way. Adding a small amount (about 1 teaspoon of 3% hydrogen peroxide per cup of water) during a water change can introduce extra oxygen molecules and help sterilize the water. However, it is not a substitute for good practices like frequent water changes and surface agitation, as its effects are temporary.
How deep should the water level be for optimal oxygen flow? The water level is critical for oxygen access. Only submerge the very bottom of the cutting—no more than an inch or two. Keeping most of the cutting above water allows its tissues to breathe air directly. This shallow submersion is a key strategy for maintaining oxygen levels in hydroponic snake plant propagation.
Why are my cuttings rotting even though I change the water weekly? Weekly changes might not be enough, especially in a warm room or a vessel with a small opening. The cutting itself and any decaying matter consume oxygen quickly. Try changing water every 4-5 days, ensure your vessel is wide-mouthed, and check that you are not submerging too much of the stem. The callusing step before placing in water is also essential to prevent rot from starting.
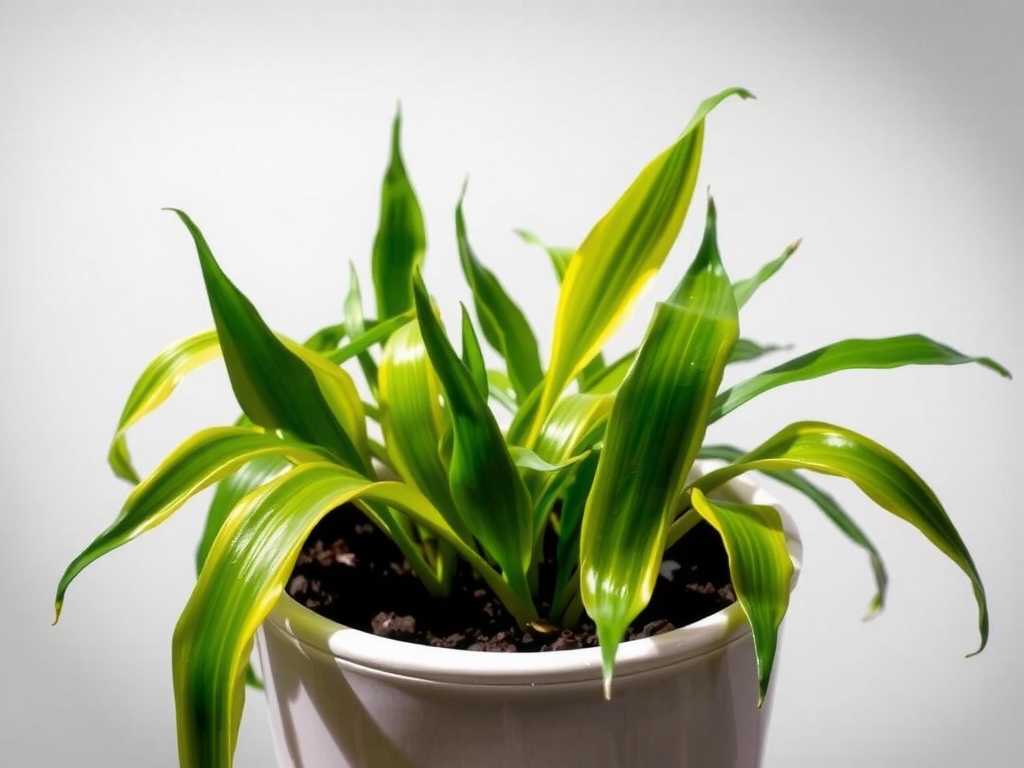
Successfully propagating snake plant cuttings in water hinges on mastering the balance between hydration and oxygenation. By prioritizing gas exchange through your choice of vessel, diligent water management, and simple techniques like agitation, you create an environment where roots can breathe and thrive. Remember, the goal is to support the plant's natural processes, not just keep it wet. With a focus on providing sufficient oxygen, you'll transform the frustrating experience of mushy cuttings into the rewarding sight of robust, white roots emerging, ready to support a thriving new plant.
发表评论