How to Prevent Soil Compaction for Soil-Cultivated Snake Plant Cuttings
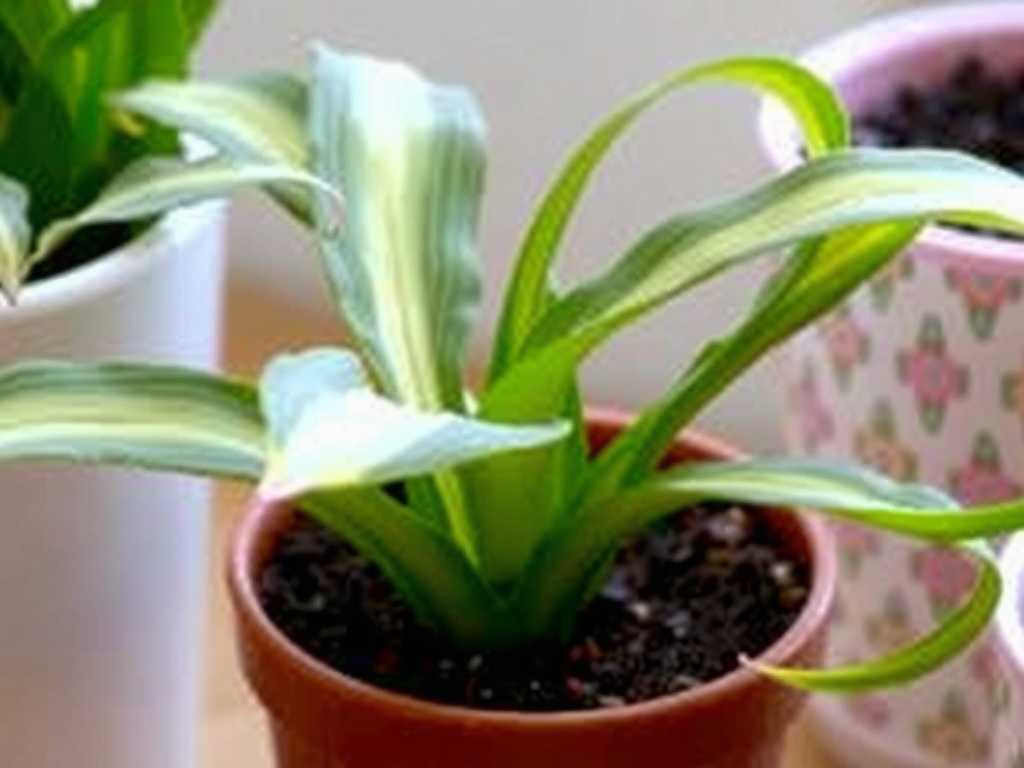
You’ve carefully selected a healthy snake plant cutting, planted it in fresh soil, and are patiently waiting for roots to form. But instead of thriving, your cutting seems stagnant, and water pools on the soil surface before slowly draining. The culprit is likely soil compaction, a silent killer for new cuttings that suffocates roots before they even have a chance to establish.
Preventing soil compaction is the single most important factor for successfully propagating snake plant cuttings in soil. It ensures the right balance of air, water, and space that delicate new roots need to develop into a robust, independent plant. This guide will walk you through the exact steps to create and maintain the ideal, well-aerated environment for your cuttings to flourish.

Understanding Soil Compaction and Why It’s Harmful
Soil compaction occurs when soil particles are pressed together, eliminating the crucial air pockets, or pores, between them. Think of it as the difference between a fluffy sponge and a dense brick. For snake plant cuttings, which are developing new root systems, this is catastrophic.
")
Compacted soil creates a hostile environment. First, it restricts oxygen flow. Roots need to breathe, and without air, they succumb to rot. Second, it severely limits drainage. Water cannot infiltrate or percolate properly, leading to waterlogging at the root zone. Finally, it creates a physical barrier. Tender new roots simply cannot push through dense, hard soil to grow and expand. The result is often a failed propagation attempt where the cutting rots at the base instead of rooting.
The Foundation: Crafting the Perfect Well-Draining Soil Mix
The battle against compaction is won or lost with your soil mixture. A standard, bagged potting soil is often too fine and moisture-retentive on its own. Your goal is to create a custom, chunky, and airy blend.
A proven recipe for a snake plant cutting soil mix is:
- 40% All-Purpose Potting Soil: Provides some structure and nutrients.
- 30% Perlite or Pumice: These inorganic materials are key for aeration. They create permanent air pockets, improve drainage, and prevent settling.
- 30% Coarse Sand or Horticultural Grit: Adds weight and grit, further improving drainage and preventing the mix from compacting over time.
Thoroughly mix these components while dry. An expert tip from horticulturists is to slightly moisten the mix before use. This helps the components bind just enough without clumping, ensuring even moisture distribution when you first water your cutting.
Choosing and Preparing the Right Container
Your pot choice is a critical partner to your soil mix. Always select a container with multiple drainage holes at the bottom. More holes are better. The size of the pot is equally important; it should be just large enough to accommodate the cutting with about an inch of space around it. A pot that’s too large holds excess soil, which stays wet longer and is more prone to compaction from the weight of the water.
Before adding soil, place a layer of drainage material over the holes. Use a piece of breathable landscape fabric, a coffee filter, or a few flat pieces of broken pottery. This prevents soil from washing out while allowing unimpeded water flow. Avoid using a deep layer of pebbles at the bottom, as this can create a perched water table and worsen conditions above it.
The Correct Planting Technique to Avoid Compaction
How you plant the cutting is a crucial step. First, ensure your snake plant cutting has been calloused properly—left to dry for a few days until the cut end forms a dry seal. This prevents rot when planted.
Fill your pot with the pre-moistened soil mix. Do not pack it down. Instead, gently tap the pot on a surface to let the soil settle naturally. Create a planting hole deep enough to support the cutting, using a stick or your finger. Place the cutting into the hole, then backfill by gently pushing the soil around it for support. The key is to provide stability without applying downward pressure that densifies the soil. The cutting should be secure but not wedged in tightly.
Mastering Watering Practices to Maintain Soil Structure
Improper watering is the fastest way to ruin a perfect soil structure. The goal is deep, infrequent watering that encourages root growth without compacting the surface.
Use the "soak and dry" method. Water thoroughly until it runs freely from the drainage holes. This ensures the entire root zone is moistened. Then, allow the soil to dry out almost completely before watering again. To test, stick your finger an inch into the soil; it should feel dry.
Always water gently. Pour water slowly around the base of the cutting, not directly onto one spot with force, which can create channels and compact surrounding soil. Using a watering can with a long, narrow spout gives you precise control.
Ongoing Care and Aeration Maintenance
Soil can gradually compact over time due to watering and gravity. You can combat this with simple maintenance. Periodically, gently aerate the top layer of soil. Carefully use a small stick or a chopstick to poke a few holes around the cutting, being careful not to damage any new roots. This breaks up any crust that forms and allows air and water to penetrate more easily.
Ensure your cutting is in a location with bright, indirect light. Strong light helps the plant use water efficiently, promoting a healthy wet-dry cycle that keeps the soil environment active and less prone to compaction.
FAQ
My cutting’s soil has already become hard and compacted. What should I do? If the cutting hasn’t rooted yet, the safest action is to carefully unpot it. Gently remove all the old, compacted soil from the base. Check for any rot (soft, mushy, brown areas) and cut it away with a sterile knife. Let it callous again for a day, then replant it in a fresh, well-draining mix using the techniques described above.
Can I use succulent soil mix for snake plant cuttings? Yes, a commercial succulent and cactus mix is a good starting point as it is designed for drainage. However, for optimal aeration specifically for cuttings, it’s often beneficial to amend it further by adding extra perlite or pumice (about 1 part extra to 2 parts succulent mix) to create an even airier structure.
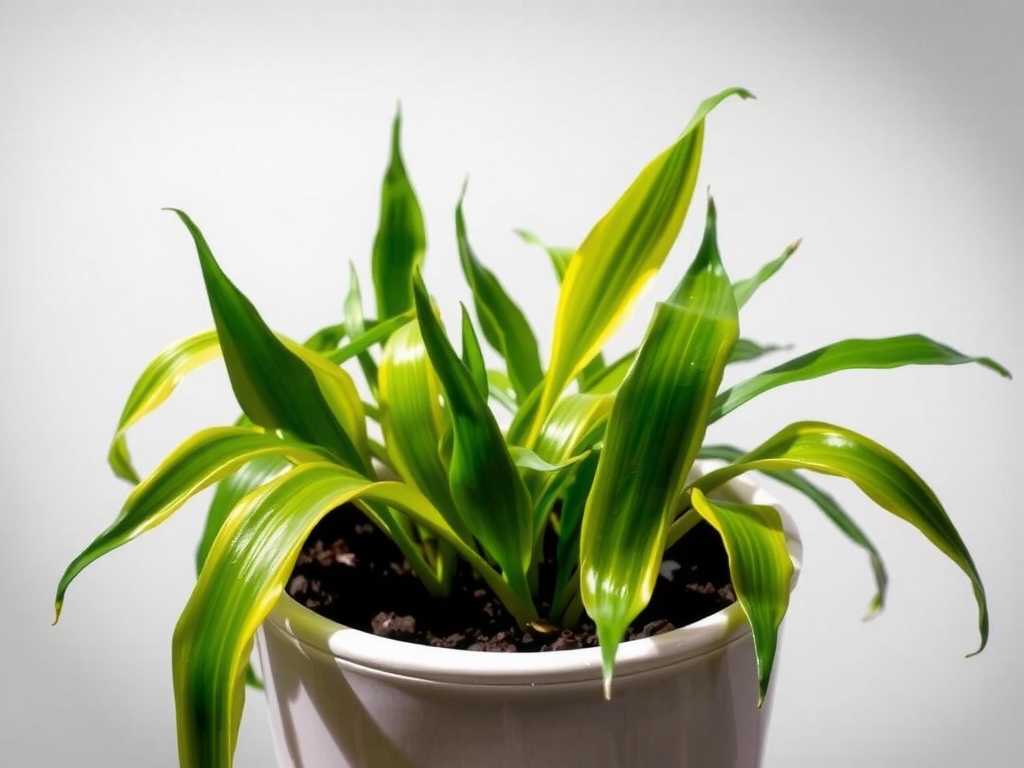
How long does it take for a snake plant cutting to root in soil, and how can I tell? In ideal, well-aerated soil, roots can begin to form in 4-8 weeks. Signs of success include the cutting feeling firmly anchored in the soil when given a very gentle tug and the emergence of new, firm growth from the soil line or the top of the cutting. The most obvious sign is the appearance of new leaf shoots.
Successfully propagating snake plant cuttings in soil hinges on mimicking their preferred natural conditions—well-drained, aerated, and never soggy. By focusing on creating a physically supportive yet open soil structure from the start, you remove the primary barrier to root development. Consistent, mindful care in watering and pot selection then preserves that ideal environment. This proactive approach to preventing soil compaction transforms the process from a waiting game into a predictable journey, giving your snake plant cuttings the strongest possible foundation for a long and healthy life.
发表评论